Zones & Worlds in +1 Stone Skipping — How Far Zones Pay More Wins
How zones and worlds work in +1 Stone Skipping: numbered landing zones that scale Wins, the World 1–4 progression, and how to push your frontier one zone at a time.
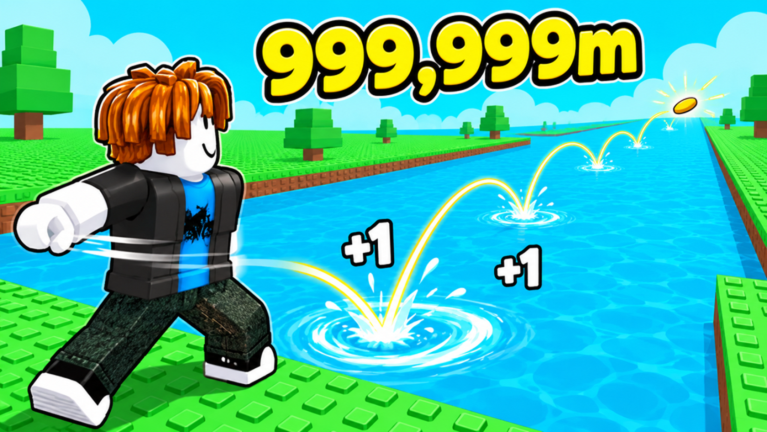
Zones are the game’s ruler; worlds are its chapters. Every throw lands in one of the numbered zones stretching across the water, and the official rule — “Reach farther zones to earn more Wins!” — makes your farthest reachable zone your real income rate. Worlds bundle those zones into themed layers; the official game icon currently wears a “WORLD 4” banner.
How zone income works
The economy is a frontier system, and it rewards pushing one specific boundary:
- Each landing zone has a Wins payout that rises with distance
- Your income per throw is set by the farthest zone you can consistently reach — not your average throw
- Upgrading anything that adds distance — throwables, training level, pets — moves that boundary outward, and every meter it moves compounds into every future throw
This is why the standard advice on this wiki is always “buy distance first”: a new stone tier is not a cosmetic, it is a raise.
Worlds: the chapter structure
Worlds are how the game organizes long-term progression, and each one has been a named update event:
- World progression confirmed so far — the game is at World 4 as of the September 30, 2026 update (per the official icon banner)
- World releases ship codes —
WORLD3andWORLD4were both redeemable codes tied to their world launches, so each new world is also a free-Potion event - New worlds re-theme the run — the official art pairs each throwable tier with its own water and sky, and world banners suggest the same chapter treatment at larger scale
Zone names, distances and per-zone payouts are not published by the developer — competitor sites that fill those tables with “Unknown” rows are being honest, and so are we until the data is observable in-game.
How to push your frontier
The repeatable session loop for zone advancement:
- Diagnose the bottleneck — if throws die short consistently, the limit is Skill/level; if they fade at the same visual point, it is your throwable tier
- Fund the fix with the current far zone — farm your best zone until the next stone or training upgrade is affordable
- Upgrade, then re-aim — one upgrade usually moves the landing point a visible notch; farm the new zone immediately, at its higher payout
- Stack boosts for the push — a Skill Potion during the frontier session stretches every boosted bounce toward the next threshold
When zones stall completely
A hard stall — no zone progress across multiple upgrades — is the game’s signal that you are at the Rebirth threshold. Trading the run for permanent strength (rebirth guide) re-climbs the ladder faster and farther, and world-release moments are the highest-value time to do it because the fresh codes restock your boosts for free.
Related Articles
guides
Skill & Wins in +1 Stone Skipping — What They Do and How to Farm Them
Skill and Wins are the two core stats in +1 Stone Skipping. Here is exactly what each one controls, how every bounce feeds them, and the fastest ways to earn more.
worlds
World 4 & Update History — +1 Stone Skipping Update Tracker
Every verified +1 Stone Skipping update milestone: launch September 5, 2026, World 3, and the World 4 era after September 30 — plus the codes each milestone shipped.
Was this helpful?
Thanks for the feedback!