How to Throw Farther in +1 Stone Skipping — Record-Distance Tips
Seven practical ways to push your longest throw in +1 Stone Skipping: Skill stacking, stone upgrades, Potion timing, pet boosts, zone rhythm and Rebirth planning.
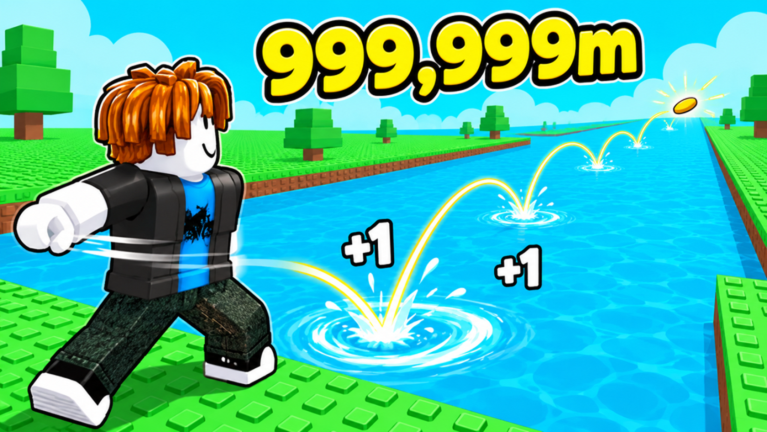
Every throw in +1 Stone Skipping is the sum of five distance sources, and record attempts fail when one of them is idle. This page is the checklist for the days you chase a number — 999,999m is the figure the official art dangles, and every meter before it is earned the same way.
The five distance sources
- Skill from bounces — the raw stat, +1 per bounce, per the official description. No substitute exists; if your session Skill is low, warm up with training throws first.
- Training level — the permanent layer. A Level 999 arm throws a golden disc for +1M where a Level 1 arm plops a +1; your ratio sits somewhere on that line.
- Your best throwable — the official art shows the ladder from a plain gray stone (+1) through a flaming rock (+150M) to a UFO disc (+4B). Check the stones and throwables guide for what the next tier costs.
- Pet boosts — pets hatched from Eggs apply permanent multipliers; a pet-less record attempt leaves free distance on the table.
- Potions, timed right — a Skill Potion fired at the record attempt, not before your warm-up.
The record-attempt routine
Work it in this order, because each step multiplies the next:
- Confirm your far zone is farmed out — Wins from your current farthest zone should already be funding your next upgrade; if not, farm first.
- Re-verify codes — a fresh
10KCCU-style drop can restock Potions you thought you were out of. - Warm up throws without Potions — bank the bounce-Skill and confirm your aim point.
- Fire the Skill Potion, then throw — boosted bounces on a warm arm is the highest-leverage window.
- Record the number, then decide about Rebirth — if the next stretch of progress looks flat, that is your cue to rebirth with the record banked.
Timing your attempt around updates
New world updates (the game is on World 4 as of the September 30 build) historically arrive with codes, catch-up rewards and sometimes rebalanced distance math. Attempting records right after an update lands gives you the best boost environment the game will ever offer — and if the attempt fails, you still have the new world’s grind to fund the next try.
What not to waste time on
- Chasing generic “skipping stones” techniques from real-life guides — this is a Roblox simulator; distance lives in the five sources above, not in wrist angles.
- Buying cosmetics before distance — nothing in the early game beats the next stone tier for meters gained.
- Record attempts on stale servers — after any update, rejoin a fresh server so you are throwing with current numbers.
Related Articles
guides
+1 Stone Skipping Beginner’s Guide — How to Play & Progress Fast
New to +1 Stone Skipping on Roblox? Learn the core throw loop, what Skill and Wins do, where the Shop and codes box are, and the fastest first-hour route.
guides
+1 Stone Skipping Rebirth Guide — When to Rebirth and What It Costs
How Rebirth works in +1 Stone Skipping: what resets, what you keep, why it makes you permanently stronger, and how to time your rebirths around worlds and codes.
guides
Skill & Wins in +1 Stone Skipping — What They Do and How to Farm Them
Skill and Wins are the two core stats in +1 Stone Skipping. Here is exactly what each one controls, how every bounce feeds them, and the fastest ways to earn more.
Was this helpful?
Thanks for the feedback!